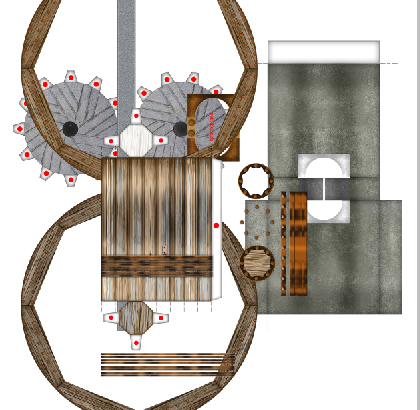
Wood's mill update
 Thursday, July 23, 2015 at 1:23PM
 Sorry its been a couple of days since posting about the mill but it moves forward.
Working on the fiddly bits, primarilly the wheel itself. Lots of clearance issues that will have to be tested. I started by modifying the wheel I had made for another model but I’ll likely do most of it from scratch. The hardest part is the troughs that catch the water on the wheel. They are at a pretty severe angle between the two wheel faces and I think it will be hard for many people to model well. I could of course just make it a paddle wheel but that’s not prototype. Anyway I warned that it would slow down. This happens often with kits where 90% of the design happens in 10% of the time and the last 10% takes 90% more time.

 Dave |
  6 Comments |


Reader Comments (6)
see that it will be as time consuming as the whole rest of the mill. (both in your
development phase and later during kit assembly) But it adds a lot of visual
appeal, so it will be worth it. Regards!
at larger scales (this is a compliment!) Secondly, there are several ways to accomplish the
larger scales without any redevelopment on your part. I found that backing up with foam core
is desirable for structural integrity. That being the case, you can print out the sheets with the
tile feature on the printer and splice as you laminate to the foam core. Fussy, but it works.
The next option would be to settle for 1/24 scale, which will fit on a Super B sheet (13 x 19)
which will print on a large format printer (such as the Epson Workforce 1100) (!3 x19 sheets
can be cut from larger bristol boards purchased at an art store.) And lastly, the easiest is to
put the file on a flash drive and take it to a Fedex (or similar) print shop and have them print
it out at any scale you want on bristol. (They can even print it on weatherproof vinyl which can
be laminated to foam core with spray adhesive like Scotch Super 77)