Solution Graphics
This area does not yet contain any content.
Wednesday
Jul012015

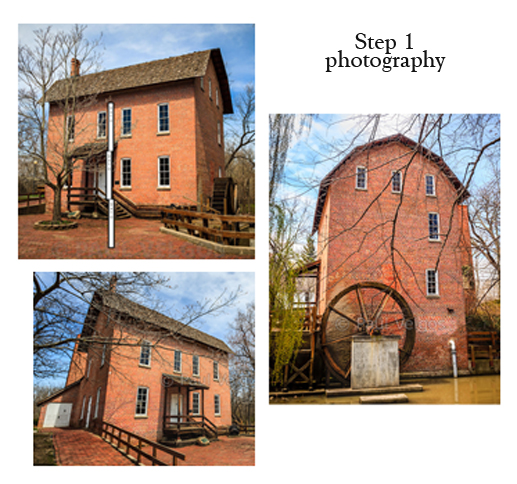
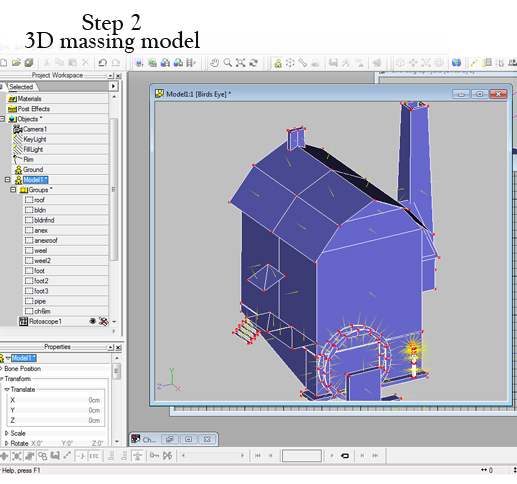
Day 3 of the process

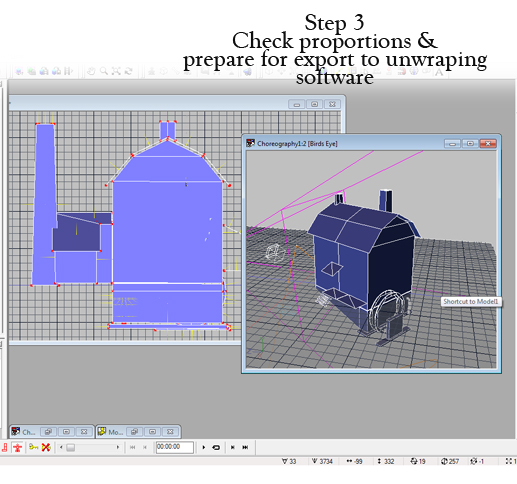
Once I’m satisfied with the 3D model it is converted into a .3ds file and exported to Pepacura, a Japanese program that unwraps/unfolds the model into a 2D flat image. The first unfold is never 100% correct and further editing is done.

editing takes a couple of hours.

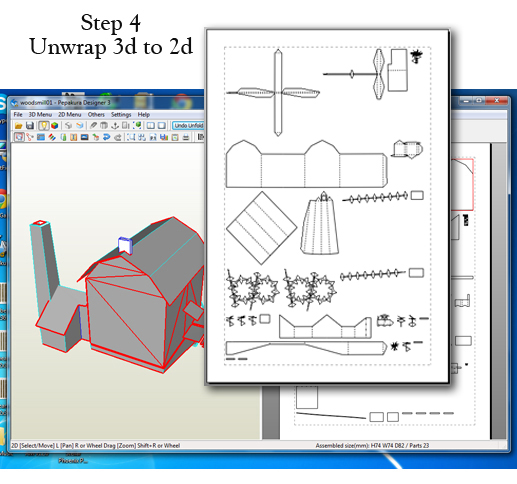
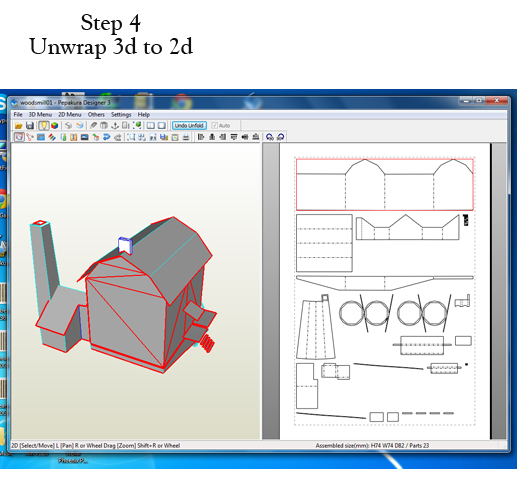
At this stage I know that when folded the fit of the kit is perfect.  We’re finally ready for Photoshop.

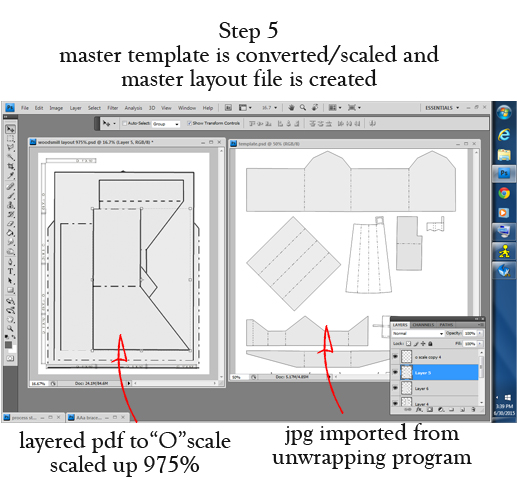
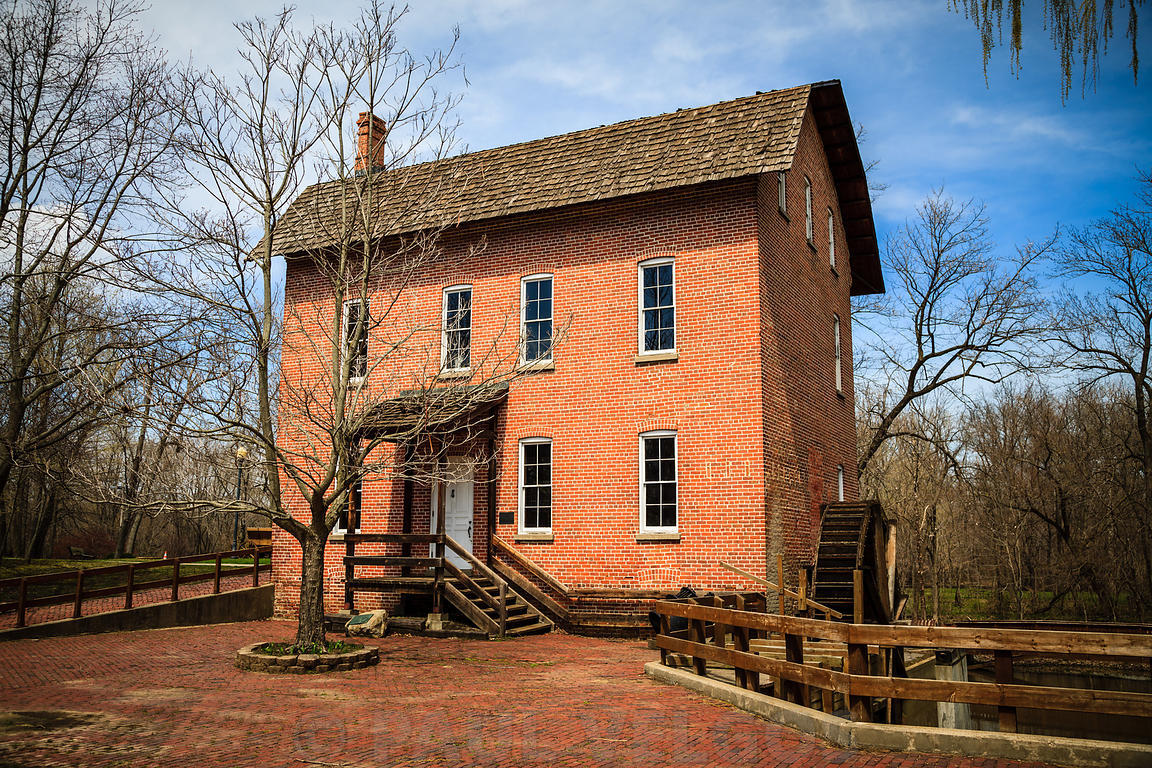
After importing the template.  I cut it up and scale it to fit 8.5”X11” paper in Oscale.  A page in O is approximatly 30’ x 40’ usable feet.  This 3 story building just barely fits.  Tomorrow I will start adding photographic textures.

Tuesday
Jun302015

The process

I get the feeling that most people don’t understand how much time and effort goes into the creation of a Clever Models kit.

Over the next week or so I’m going to share the steps I’m taking to realise a model of the Wood’s mill.  It starts with finding the structure and taking dozens of photos.  I also do a follow up web search to see if there are earlier historic images.

The 3 bars in the first pic are rough measurment rules.  Along with measurments made on location, I can move on to making a low detail 3D model.

Flne detail is added later.  This model confirms my extrapolated measurments and a pleasing proportion.  I’m also starting to think about the engineering on how the model will go together.

I check the model through the softwares’ camera against several photos and from all angles to make sure everything fits before exporting to the unwrapping software.

That’s all for now, approx. 2 days invested.

Monday
Jun292015

Found wile on a photo safari

Deep river park, Hobart, In. Wood’s mill. I already have a mill but i cant pass the opportunity.


Monday
Jun292015

Up date on the Photo Studio 6/29/2015

I’ve finished the test build of the Photo Studio and it needs a couple of tweaks.  I’m hoping to finish it off over the holiday weekend.