Paper dust
 Sunday, June 19, 2011 at 9:30PM
 Each evening (almost) I take a quick look at our download sales to see how we did that day and to try to get a feel for what people want. It’s mostly automated. Occasionally an issue arises that needs a hand on it but if I dropped off the planet tomorrow, (Raptured perhaps) the Clever Models sales juggernaught (that’s a joke) would go on. In a lot of ways that’s pretty cool but in another it’s a bit disconnected. When ever we sell a DVD, I get a notice and I can write a small personal note of thanks. With the automatic downloads, that doesn’t happen. I just get a list of transactions. Sure I can get the contact info but it’s not right there and I don’t generally get to thank people.
So Thanks. It makes a difference and your support is sincerely appreciated.
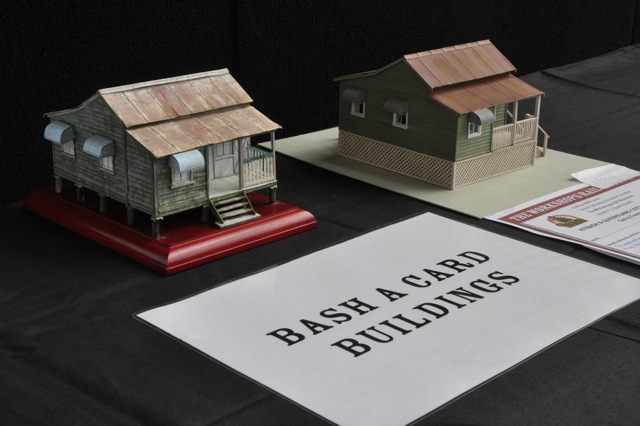
I think one of the missions we should have is to help all of our users to become better modelers. Mostly our advanced builders are always ready to help. When I design a new kit I try to be aware of making the steps accessible to 1st time builders and yet not limit the advanced folks. Keep in mind there are no real rules involved building cardstock models. First and foremost are theygood models? The material is secondary and adding castings and adding other materials or modifying the card is standard model building procedure for the more advanced builders.
We have a small but great community here. It’s growing slowly, but it is growing.
I’ll try to post more techniques and I hope everyone here will do the same. For instance, back in the stone age when I would do a pen and ink drawing, I would always use top quality paper, usually a velum or Strathmore. As fine as those papers are, I would always take the extra step of using “pounce” to prepare the surface for the ink. Pounce is a super fine pumice or clay powder that would be rubbed into the paper surface. It filled the pores and removed any oil that would cause the ink pen to skid and skip. It guaranteed a solid black line. We always recommend that a good quality card stock of 60 or 80 LB be used but that’s too general. A master level builder will use different stocks for different purposes, even using thin typing paper for shingles and tar paper. We have never really said to do this but it’s obviously a good idea. For all of it’s superior properties, paper does have one or two issues. It’s natural springiness can cause corner folds that can bow a wall in or out. It can be frustrating, but just a little careful work will solve the problem. Thinner paper of course will fold with more sharpness but lacks the depth needed for layering. 100 or 120 lb card is as thick as wood, but does not fold well. In that case perhaps you will choose to remove the tabs and butt join the parts. Why not? In short, do what works for you. Are the windows to small to cut cleanly? Why not cut them apart and build them back board by board. Beautiful, smooth, clean card stock. Maybe too smooth. Try printing wood or even brick parts on textured water color paper. It’s thick and soft and you can easily emboss a few bricks, wood grain or nail holes. How about printing windows on overhead transparency material. It can be tricky, but looks great.
OK, back to the Pumice or clay. Some times a card stock part gets cracked, frayed or furry. I’ve used a small ball of air dry clay to seal and repair edges. Just take a little clay and rub it into the crack or edge. Weird, but it works.
You are all craftsman and therefore creative. Keep open minds and by all means try things. If you get a good result, please share it here.
Thanks all.
Thom
 Dave |
  Post a Comment |


